I was bitten by the camping bug
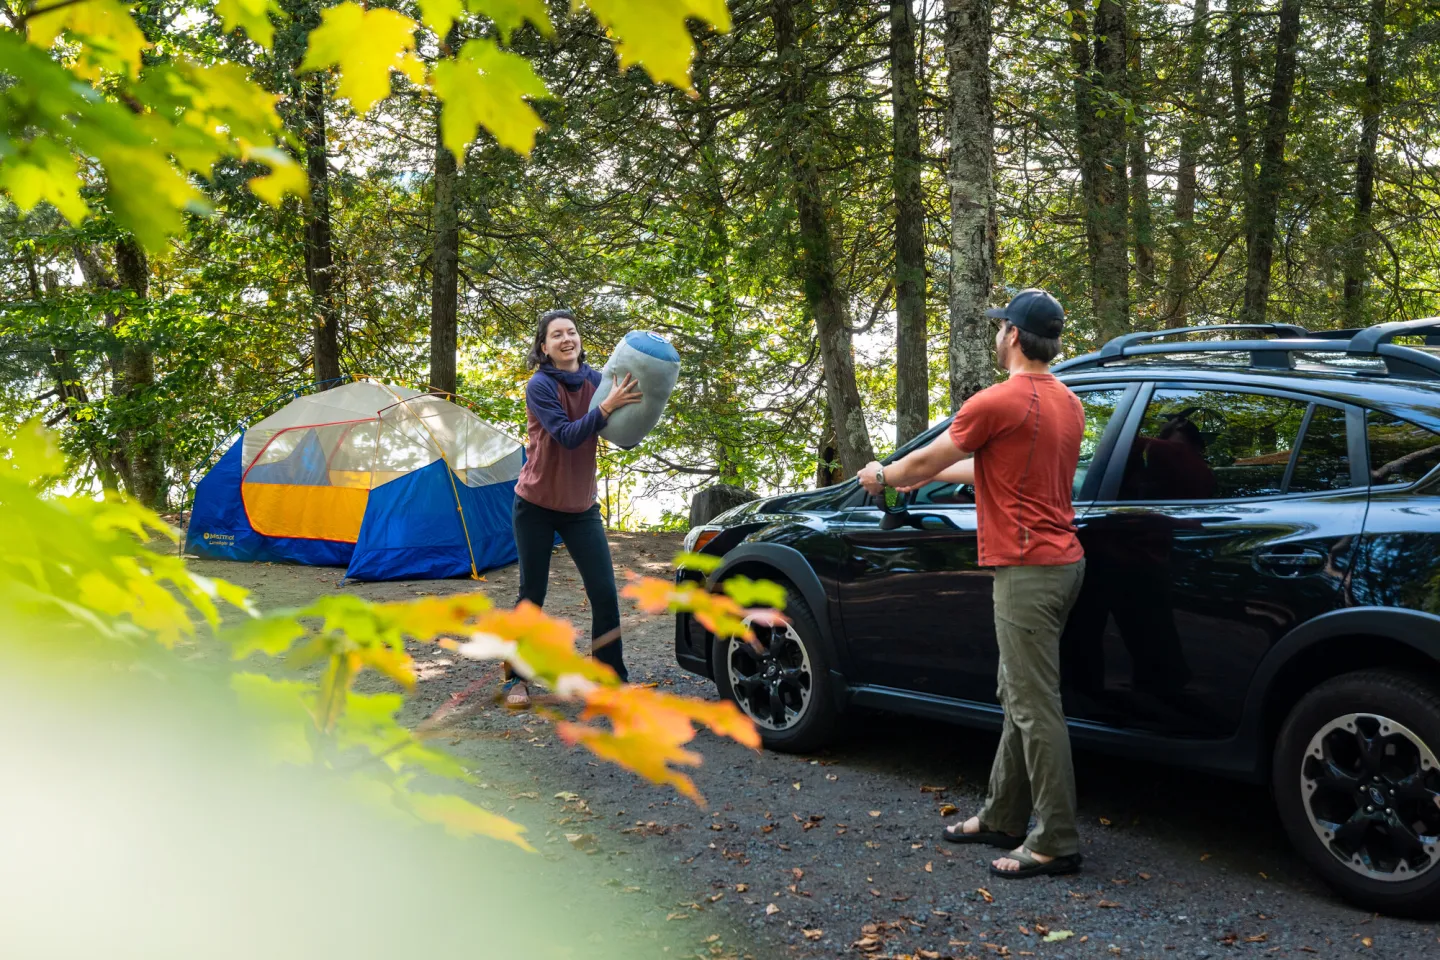
So, I’m admittedly crazy about car camping. My husband and I camp regularly. We have a 3-tiered shelf of camping supplies organized in our garage. There's something for every situation. The planning and packing are every bit as good as the experience once on site. I guess it's the anticipation of another wonderful experience in the Adirondack Park that makes the planning every bit as fun as the adventure! There's one particular car camping expedition that I start anticipating in late winter (and I know most of my friends who participate do the same).
Each year in June, several of us get together for almost a week of camping. We start planning in March, just about the time winter is making us long for our annual gathering. This year will mark the 16th edition of an amazing girlfriend bonding week we’ve dubbed “Tramps at Camp.” We have three rules: no men, no pets, no kids. We’ve bent all of them a tiny little bit over the years, but for the most part, those are the hard and fast rules. We’ve left all our husbands, boyfriends, pets, kids, and the things we consider responsibilities behind, and we have pure, unadulterated fun with no cares in the world! Or so we thought at one time or another!
Camping comes with its challenges - even car camping. We’ve had to adapt to bad weather, extreme heat, bugs, wet wood, wet tents, wind, and a host of other inconvenient issues. And we’ve learned a thing or two about innovating and rigging things.
Learning the hard way in the early days
During our first years of this crazy little expedition, we were pretty green when it came to how to ‘survive in the wilderness.’ Our very first outing was in 2000, when several of us decided to spend one night at Polliwog Pond. Polliwog is a pond on Floodwood Road near Upper Saranac Lake. We planned to paddle to one of the outlying campsites for the night. We all arrived and took a look at everything we brought, and were unanimous in our conclusion. “No WAY are we transporting all this to that campsite in our kayaks!” So, we ended up on one of the first-come-first-served campsites on the shore of Polliwog. Luckily, there was an empty site; this isn’t always the case with first-come sites. It was a primitive site with a nice sandy beach and was perfect for what we were looking for. Our supplies on that inaugural outing included coolers full of food and drink, tents, kayaks, lawn chairs, and more. We laugh every time we remember the lofty idea of transporting all our supplies in our recreational kayaks!
Creature comforts make for happy ladies
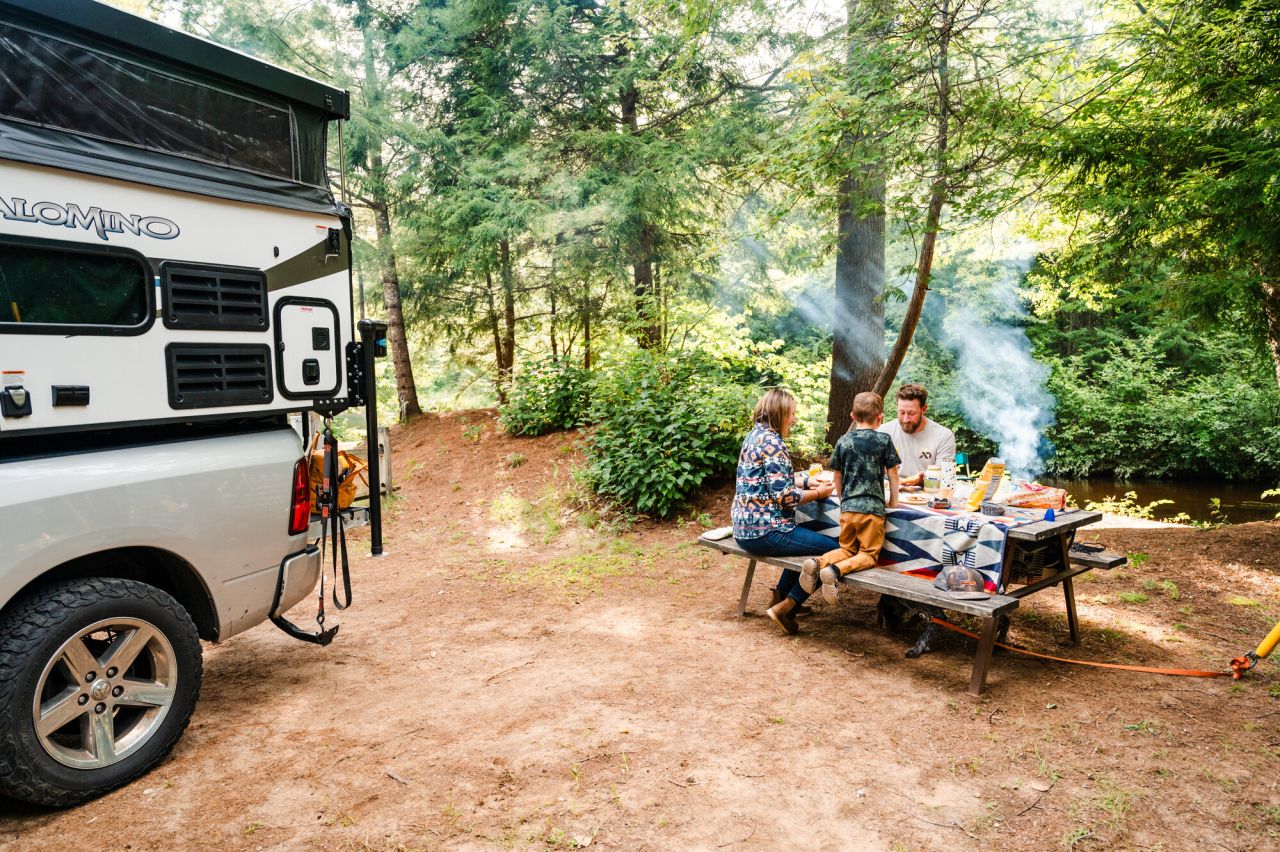
Fast forward to 2015. We’ve extended our little overnighter to nearly a week now, and we travel with a LOT of stuff. A few years ago, one of the rangers checking us out at the campground asked if we were sure we had all our stuff. He remarked, “I’ve worked here for 15 years and I’ve never seen a group with so much STUFF!”
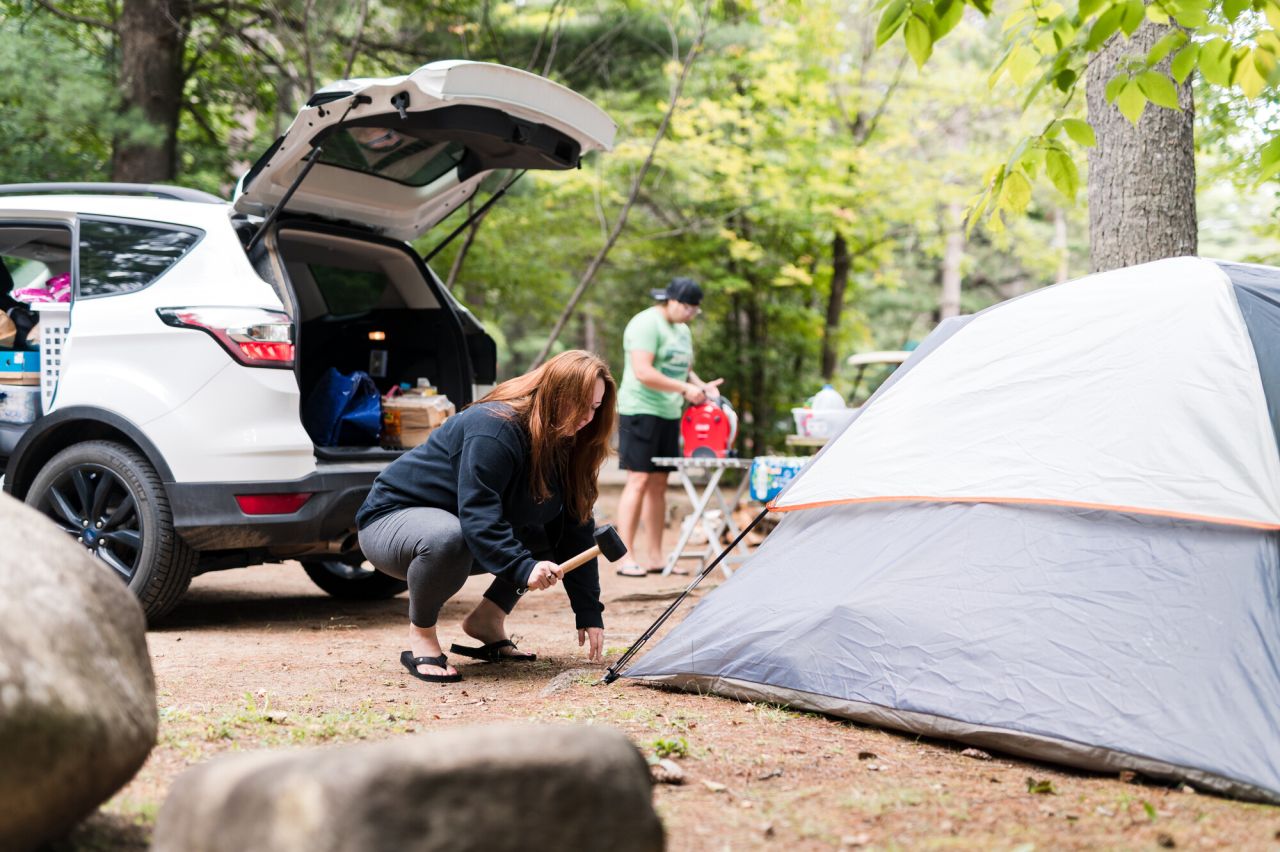
As the years have gone by, we’ve accumulated a lot of things to make camping almost downright luxurious - glamping, really. Of course, we also bring lots of accoutrements as well. We have a theme every year, so that requires more stuff. And, of course, women need their creature comforts. We’ve also graduated from those primitive, first-come sites to reserving sites (usually 5 or 6 together) at one of several NYS campgrounds within an hour to an hour and a half of home, which is Lake Placid for most of us. There’s an awesome site on Lake Harris in Newcomb, with most sites right on the water, we’d like to try next year (see below for more Schroon Lake Region camping options). Minimum requisites these days include hot showers and flush toilets. And most of us have also graduated from tents to hard shell campers, vans or trailers.
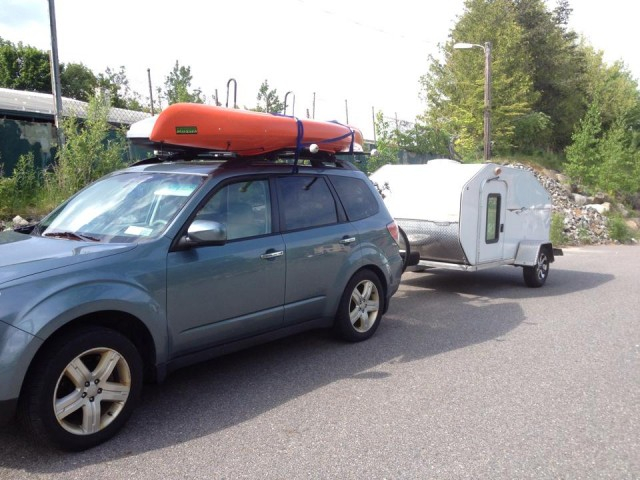
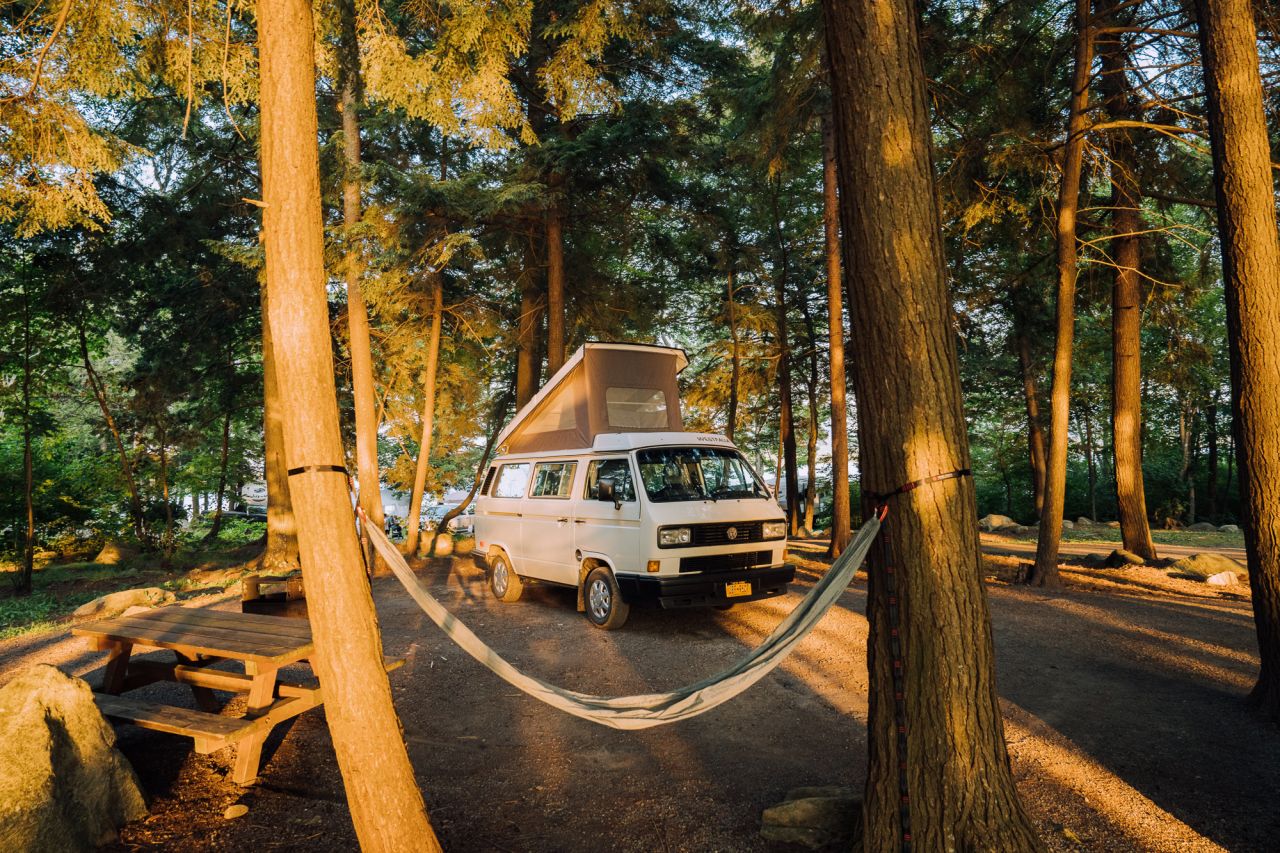
There are still a couple of holdouts with tents. I salute them, but I love my little teardrop-style pod camper (below). It keeps me off the cold or wet ground, secures my stuff from wind and rain, and it’s cozy, dry, and comfortable with a real queen-size bed, DC or AC power, lights, a roof vent with a fan, and lots of storage space.
Hacking it up
Which brings me to my first car camping “hack.” Teardrop campers are great, but they allow little privacy for changing clothes, etc. I solved the problem by erecting our 10’ x 10’ EZ Up tent directly over the camper, extended up to its highest setting, which clears the roof of the trailer and allows us to open the roof vent. The EZ Up tents come with nylon side panels that zip on. One panel has a zipper in the middle, which is perfect to put on the hitch side of the trailer, zipped up far enough to allow the hitch to extend outside so you can get the edge of the tent close to the front of the trailer. Then we put the two sides on and leave the back of the tent open. Most campsites are wooded at the back, so you'd have built-in privacy on that side anyway. The open side allows me to open the galley hatch fully as well, but I can put on the rain panel if the weather is really inclement. The tent sides extend about 2 1/2 feet beyond either side of the trailer, so the trailer doors open fully and provide space to move about. This arrangement not only protects from the weather, but gives perfect privacy as well. The tent also allows us to use the top of the camper for storage of miscellaneous ‘stuff’ without worrying about the weather (there we go again with the ‘stuff'). The tent prevents condensation on all that ‘stuff’ at night, as well as protection from rain, which is a definite bummer when getting in and out of a teardrop during a torrential downpour.
The all-important campfire
This isn't so much of a 'hack' as an instructional. Fire starting while camping is one of the most important things you can master. And don’t think you only need a little newspaper and some kindling. When it’s all very dry, it works. Most times, the ground is damp, and so is the wood. Make sure you really know how to lay a fire, and you’ll never have a problem.
1. Put a fire starter on the bottom of the fireplace. If the fireplace doesn’t have a grate on the bottom, use a couple of small logs to help elevate the kindling you’re going to place on top.
2. Above your fire starter, form a small teepee with some kindling. Leave an opening in your teepee on the side the wind is blowing against. This will ensure that your fire gets the air it needs and will blow the flames onto the kindling.
3. Continue adding kindling to the teepee, working your way up to pencil-sized twigs.
4. Create a larger teepee structure around your kindling teepee with some small pieces of wood. The key to getting a fire to burn is to make sure there is good air circulation around all the wood. Then add your fuel wood at the top.
5. Place a match under your tinder. Because this technique directs the flame up, the flame should rise to the kindling, and then on to the fuel wood.
6. The teepee structure will eventually fall, and at this point, you can add some more fuel logs to the fire. Just remember, air flow is key!
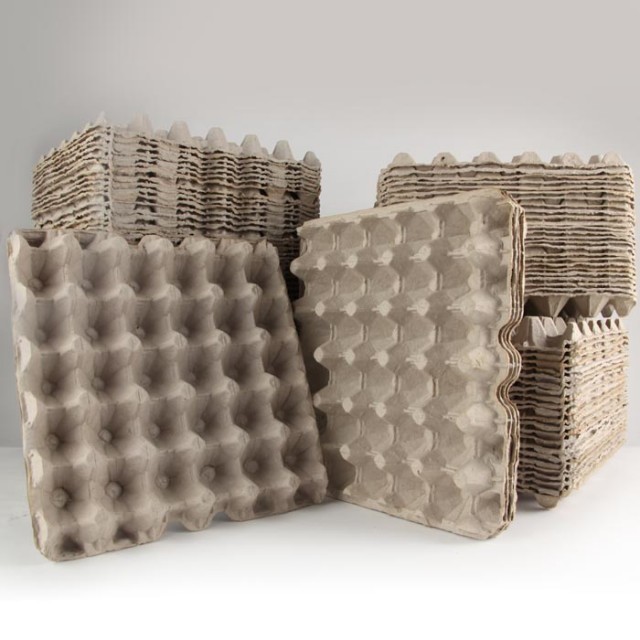
Don’t use an unsplit log to start a fire. It doesn’t work very well. Bring a plastic tarp to cover your dry (dry is the key) firewood to KEEP it dry after you pile it up next to the fireplace. Make some fire starters to take with you - easy peasy. Go to your local lumberyard and ask them for a box (bring the box with you) of sawdust. They’re happy to get rid of it. Get some paper egg cartons. A good source is a local breakfast place that serves lots of eggs. Commercially packed eggs come in flats of 2 1/2 dozen in a nice, big square crate. They will also be glad to get rid of them.
Get some paraffin wax, melt it, fill the crates with sawdust and pour on the melted wax, let harden and then you can break or cut off chunks to use in the bottom of the fire for starters. Paraffin burns hot and long. Be careful when melting the wax while making them. It’s highly flammable, so don’t let it get too hot, as it will ignite. This is a good project to do outdoors for safety, using a camp stove. Using a double boiler is even safer as the pot with the paraffin isn't in direct contact with the flame.
Keep your kindling and fire-starting supplies at your campsite in a plastic bucket with a cover. I keep work gloves, butane lighter, matches, kindling, and newspaper in my bucket. And don't forget a hatchet to split the smaller stuff if needed. I also use birch bark for fire starting. It burns very hot and long. There is often birch on dead and downed trees in the woods, so look around for it. If you have any split birch firewood at home, peel off a bunch of bark. NEVER take it from a live tree.
Out-bug the bugs
When it comes to bugs, smoke is one of the best insect repellents. Lately, I’ve been seeing posts on Pinterest telling people to put bunches of sage in a campfire to keep bugs away. I always laugh when I see this. Any smoke keeps bugs at bay. Sage doesn’t do anything more than the smoke from the campfire would do, and it’s expensive, so save your money and don’t bother with the sage. Your local dollar store sells “bug coils,” which are excellent for moving around with you. I use them all the time in the summer. Dollar stores also sometimes sell a pottery container with a perforated lid, which you can use for burning.
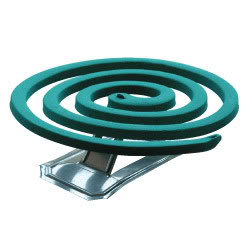
They come as a package with the coils as well as a little metal stand on which to center the coil. And honestly, if you can’t find the coils with this burner, use an old plate or a flower pot saucer. They work just as well. Get several and put them all around the campsite. You can move them around depending on the direction of the breeze. Put them under your lawn chair or on or under the picnic table. Putting them on the ground keeps the smoke at leg level as well. They’re cheap and they’re effective and they burn for a long time. But remember, the best bug repellent for your campsite is also a smoky fire.
Thrifty purchases and an old belt
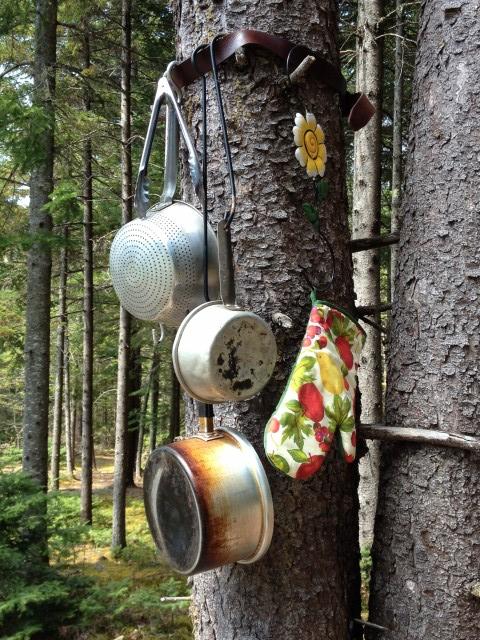
Some of the best camping hack ‘stuff’ I’ve gotten is from the local dollar store and thrift shops. Utensils for cooking, dishwashing supplies, and wire hooks for hanging things, as well as paper products and storage containers. One of my favorite cooking area tricks is to take an old leather belt and fasten it around a tree. Use several large S-type hooks found at the dollar store and hang them around the belt on the tree to use for hanging things like pots, pans, utensils, and some of that Dollar Store stuff. A bungee cord around the tree also works, but it tends to stretch if you hang too much on it. A leather belt works best, and you can find lots of them at thrift shops.
Shoe organizers-but not for your shoes!
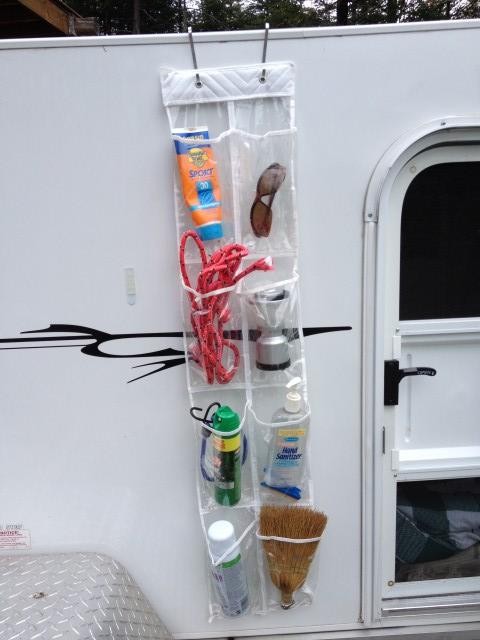
Another trick is to buy a couple of shoe organizers with hooks to hang from a belt attached the same way to a tree. You can store all kinds of things in the pockets - soap, utensils, salt & pepper, bug spray, or anything you can fit in them. Many are made of see-through plastic so you can readily find what’s what in the pockets. The shoe bag is also useful for toiletries and more of that “stuff” in the camper or tent. You can even roll it up and take it to the shower with you. I hang one on the outside of my teardrop just outside my door to keep all those little things handy and visible, like flashlights, bug spray, candles, batteries, etc.
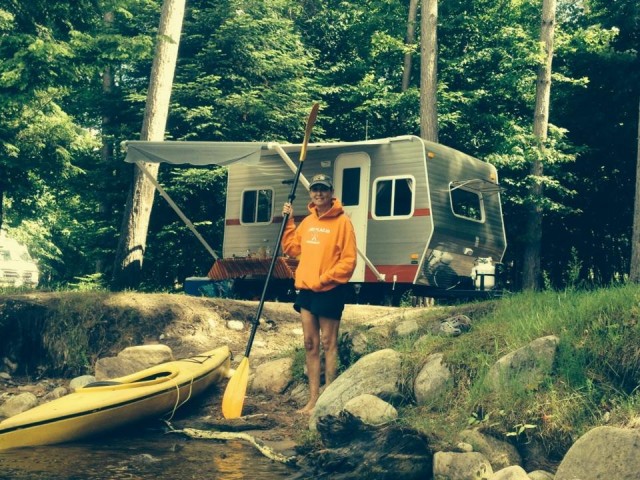
On the water
One of our Tramp camping musts, wherever we camp, is that our sites must have water access. We all love to paddle, and most of us have kayaks. We do a fair amount of touring and exploring, but we also love to sit in our kayaks, have cocktails, and soak up the sun on the water.
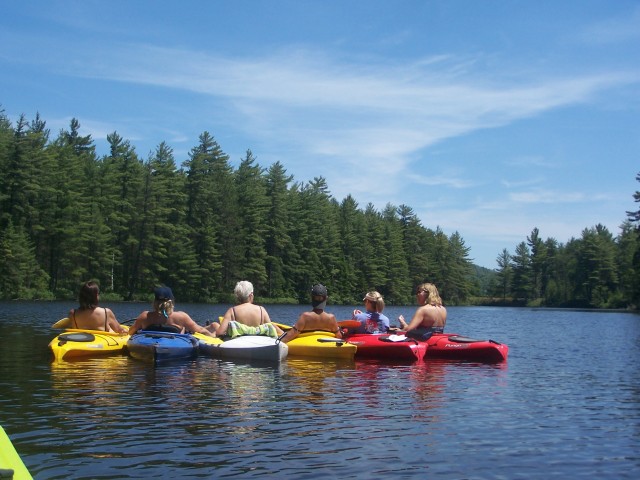
It’s easy to tie off to the shore, but sometimes we like to be farther out in the water, so we decided a couple of us should have anchors. An easy-to-make anchor consists of a small coffee can, a large eye bolt, and a small bag of Quikcrete concrete mix. Mix up enough concrete to fill the coffee can and insert the bolt in it just up to the end of the grooves on the screw end. Let it harden, attach a long rope, and there you have it! An anchor for your kayak! Easy peasy. Tie all the kayaks together, and you have a stationary raft of fast friends floating. :)
Food storage hack
When it comes to food, we could probably feed an entire village with what ends up in everyone’s coolers and storage bins! Yes, we tend to overdo it, but heck, we LOVE to eat! Food storage can make or break your camping experience. One of the most important things is proper cooler packing and maintenance of temperatures below 40 degrees in the cooler. One of my favorite ‘hacks’ for cooler packing is ice. I make my own ice packs with either 1/2 gallon or a gallon plastic milk jug. Wash them well, fill ‘em up with water, and freeze. Do this several days in advance, as it takes them a bit of time to freeze. Use these in addition to commercial freezer packs in your coolers. As they melt, they provide great fresh drinking water.
Another good option is to use one or two of the metal shelves available at Walmart that fit in the bottom of the cooler.
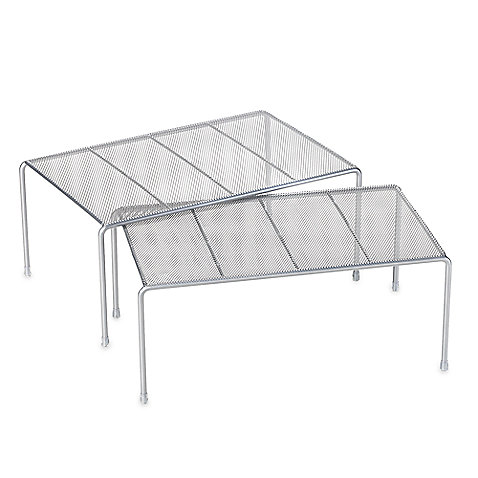
They will keep your food off the bottom and out of any melting ice water that inevitably ends up there. Put your ice packs and bagged ice under the shelves and the food on top. Take food out of its original containers and store it in Ziploc bags and plastic storage containers to further keep it fresh and dry. Zip Locs are my favorite. I use them for everything. You can never have enough extras either, so bring boxes of quart and gallon sizes for leftovers, etc.
The most important thing about food when camping is to make SURE you have put everything away at night or when leaving your site, out of reach of those hungry visitors - like the very clever raccoons and bears. If it’s left out, it will attract them to your campsite. Shut them inside your cars!
Dry foods are best transported in big plastic bins with lids that can also be closed up and kept dry if it rains. Also, make sure these are in your cars when leaving or going to bed. And speaking of bins, they’re great for everything from clothing to cooking supplies as well.
So you're probably enticed enough to make a reservation
Now that I've filled you in on some of our great camping "hacks" and tips, you're ready for your own adventure. The Schroon Lake area has some awesome options for car camping. Be sure to look at the selections on our camping pages, many of which are family-friendly, and some of which even have swimming pools if they aren't on the water. Be sure to look at our events schedule as well, for some options to get out of the campground and join in some fun local happenings.
Add some of your own "hacks" for camping below. Would love to see some more creative ideas, especially for families. See you at the campfire!